
Licensing enforcement on WpiSimple is partially implemented through the theme generator.
Once WpiSimple CMS is installed on your server with demo content, you’re all set to start creating your own custom theme. Just follow the flow below
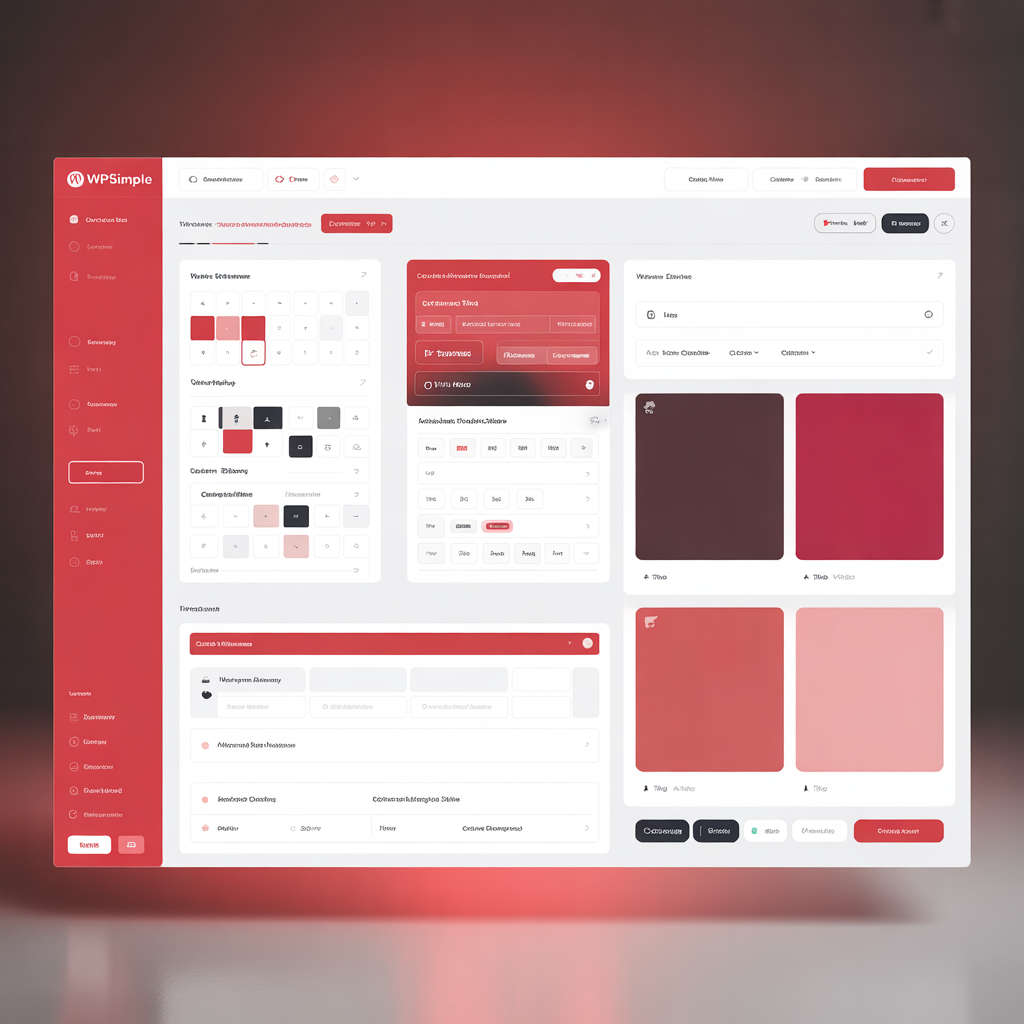
Theme Creation Flow
1. Design First
Get your website designed by your designer (PSD / Figma / XCF).
2. Export to HTML
Convert the final design into clean HTML.
3. Make It Responsive
Test your HTML for responsiveness across devices.
Note: The quality of your HTML work decides 50% of your website’s overall performance and flexibility.if html is not fine than wpisimple scripts are not responsible
4. Add Theme Markers
Insert the required markers as per the Theme Developer Guide provided with your license. Make a zip of your all marked files.
5. Submit to Theme Generator
Move to admin panel theme generator and add the following details
Choose a unique theme name. This name will be used for:
Template folders
Assets (CSS/JS)
Image upload directories
What Happens Next?
- If your request falls under our team as per your license scope
Our team will handle the next steps and ensure your design is integrated into WpiSimple exactly as it appears in your HTML. - If it’s outside our license scope
Your request is processed via cron jobs that:
1. Run server-side analysis tools
2. Auto-generate updated theme files
3. Email you a fresh zip package
Final Setup
- Unzip the received files into the root directory of WpiSimple.
- Log in to the Admin Dashboard.
- At the top-right corner, you’ll see a theme selector:
Disable the default theme
Enable your new custom theme - Choose whether to:
Keep demo content
Or clear it and start fresh
Go Live
Now you’re free to add or edit content from the admin panel and tailor everything perfectly for your business.